Once the file is able to be exported and the files have been created, you will need to design the label to display the information you want.
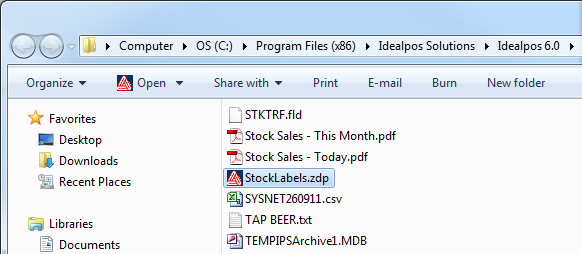
Navigate to the Idealpos folder where the labels.zdp file is located and double-click it to open it with Avery Design Pro.
The label will open and display as a blank label.
To create a barcode on the label go to Insert > Barcode.
Draw the area where you would like the bar code to print.
Right-click on the barcode field and select Barcode Parameters.
Select EAN 13 from the drop-down box.
Click the barcode field again and go to Database > Insert Field.
Select ScanCode from the list and press Insert, ScanCode will appear on the label.
Press Close and the bar code will display on the label.
To add other details go to Database > Insert Field and select which field you want to insert.
Press the Preview button to see the details and what the labels will look like.
Save the Format File and exit. You will now be able to print the labels for all your stock items.